I am hijacking my blog again for the students at Paynesville Elementary again... so if you are here for the artwork only scroll to the bottom of this post.
Good Day, Mrs. Rupercht's Class!
This first picture is everything you should have in front of you, plus a glue stick, colored pencils, and a black pen.
Note: you will only have one image and coordinating backing as well as less embellishments-as we in card-making call them- hearts and beads.

To start make sure your card it fold up and the inside message is correct when you open the card by flipping it up. The arrow will get covered with the paper strips.

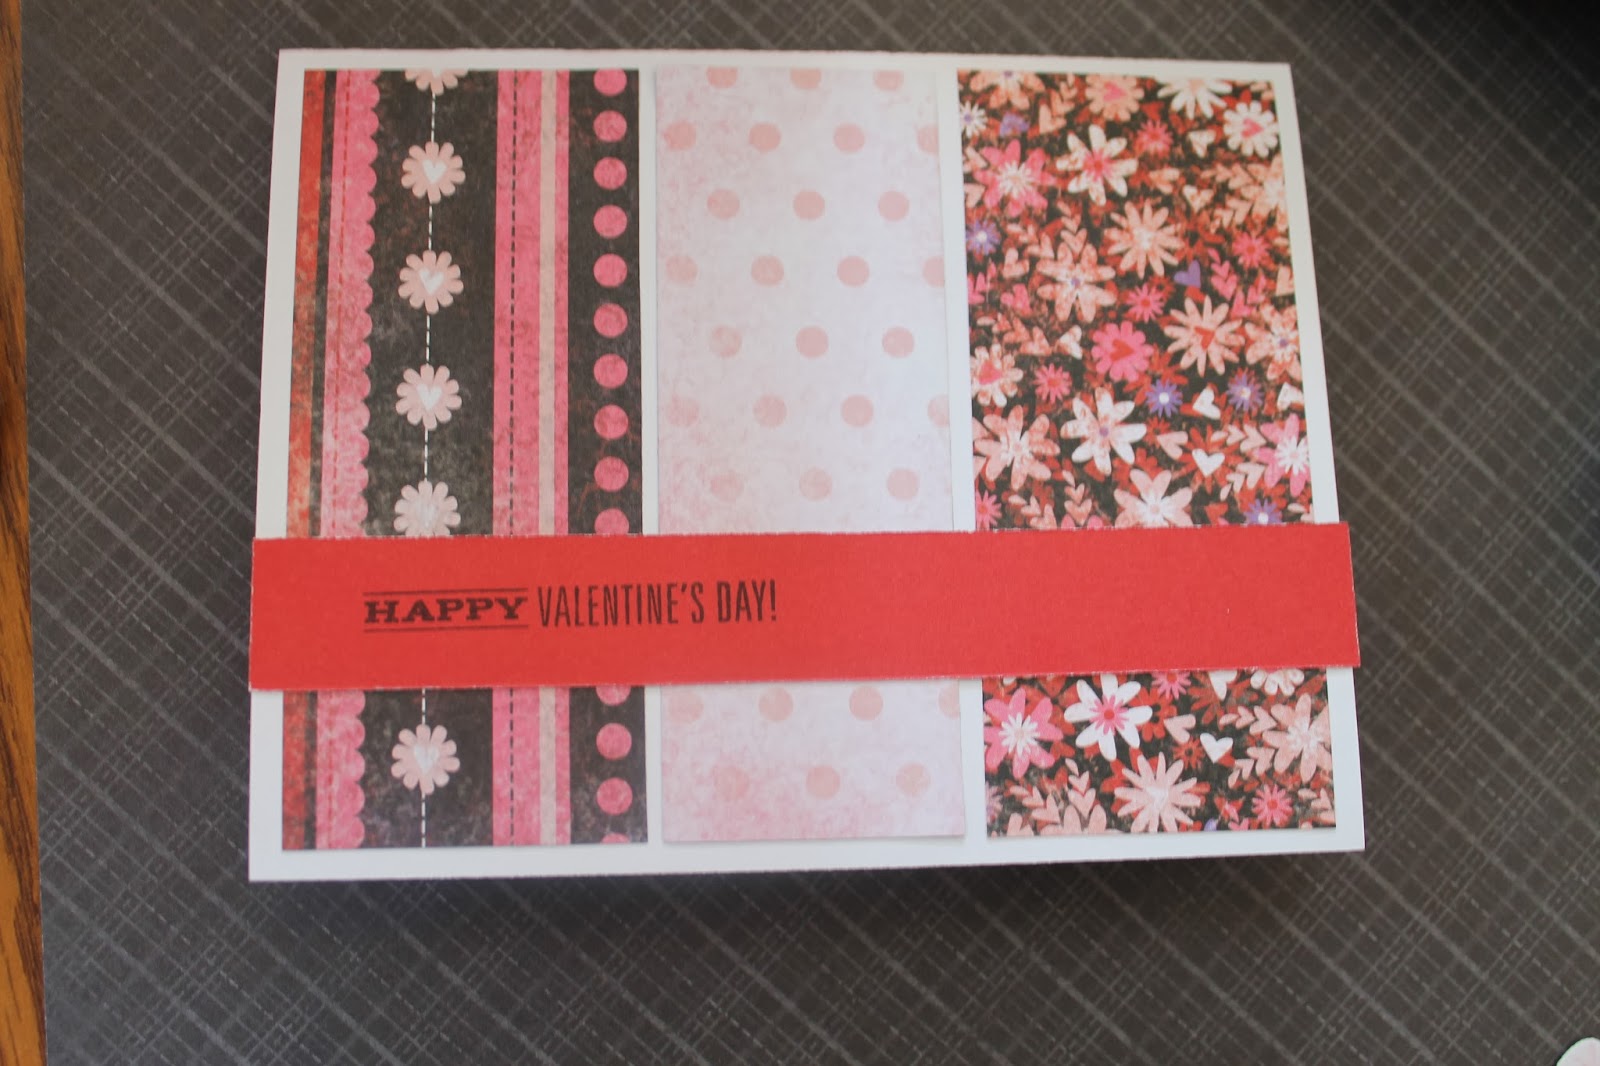
You have 3 strips of paper that are the same length. 2 are the same size. 1 is narrower- this will be the middle piece and is the polka dot one.
I will suggest that you lay out the three strips of paper on your front first to check spacing as I had to peel off my middle piece and re-adjust. I could with tape, but with glue you will ruin your card. They should not touch, but have a even spacing between each.

Next, place the far end piece on-- Keeping the edge the same as the other end. Then place your middle piece on.
Your card should look like the picture below.

The long red strip is next.
Make sure that your words are right side up,
like below and glue down.
Next you have your image. Color with color pencils and glue to the base leaving an equal edge all the way around.

Place image and base on your card.
(decide on placement before gluing!)
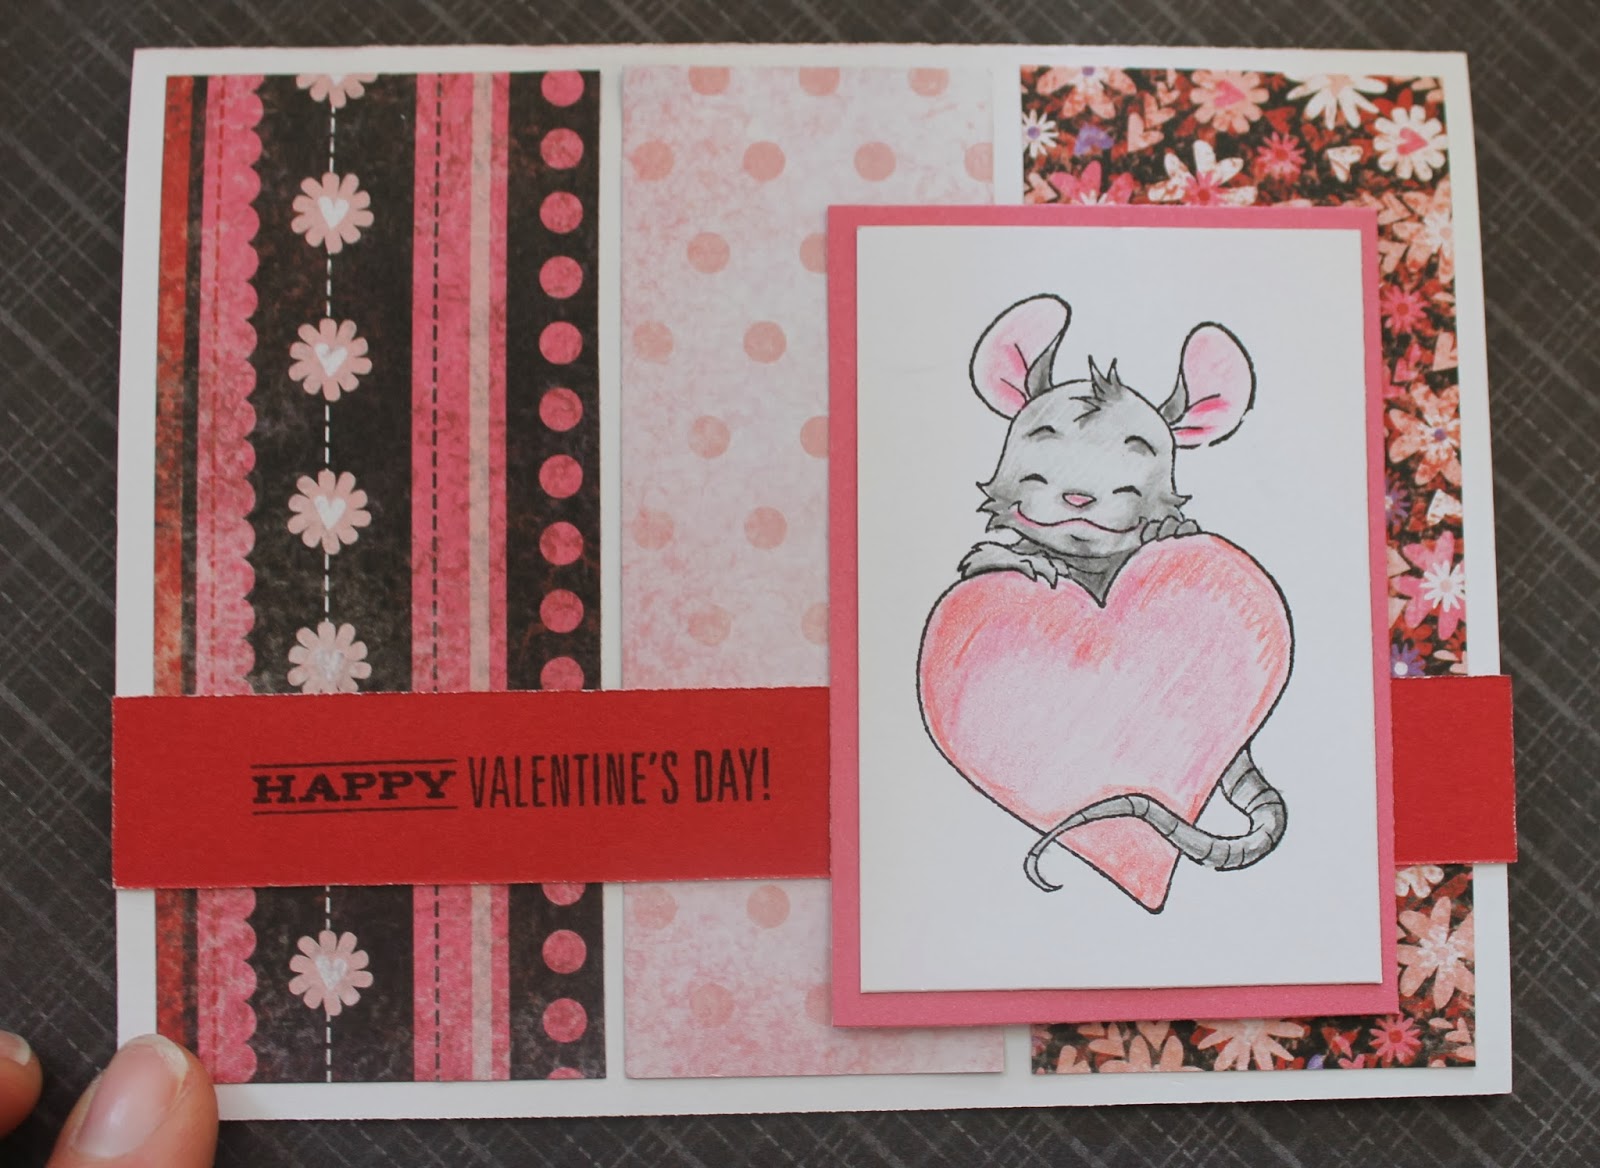

Now all that is left is to finish off your card with embellishments.
You can place them where you like, below are several ideas.


I added some fake stitching or frame with a black pen, this is optional, as it gives it a bit of a different look.

Hope you enjoyed making your Valentine Card!
For my crafty friends. Below I colored a 12x12 glitter cardstock sheet with Tim Holtz alcohol inks. I just dropped and then smeared and blotted with a napkin. This is the paper I used to make all the die-cut hearts for above. I now have pink fingers, but worked very well for an easy color matching embellishment.

CTMH- all papers (except glitterstock), stamps- heart and Happy Valentine's Day!, H20 pencils, Inks pads
Whiff of Joy Stamps- Henry Mouse with Heart
DCWV- Glitterstock stack
Tim Holtz- alcohol inks
Provo Craft- Die cut hearts
Misc.- plastic beads
No comments:
Post a Comment